Craft mouthwatering Shotgun Shells BBQ Recipe using quality ingredients like ground beef, eggs, and seasoned vegetables. Prepare by cutting bite-sized meats and marinating with olive oil, salt, and pepper. Pack filled shell casings with a mix of beans, rice, and seasonings for a unique side dish. Cook on the grill or in the oven, serve with toppings, and store in an airtight container up to 4 days.
“Elevate your busy-night dinners with our simple Shotgun Shells BBQ Recipe – a quick, satisfying dish that tastes like a restaurant-quality meal. This comprehensive guide breaks down the process step-by-step, from understanding shotgun shells to assembly and cooking techniques. Learn which ingredients and tools you’ll need, how to prepare meat and vegetables, and essential tips for serving and storing your creation. Get ready for a delicious, time-saving BBQ experience!”
- Understanding Shotgun Shells: A Quick Overview
- Ingredients and Tools You'll Need
- Preparing the Meat and Vegetables
- Assembly and Cooking Methods
- Tips for Serving and Storage
Understanding Shotgun Shells: A Quick Overview

Ingredients and Tools You'll Need
To create delicious Shotgun Shells, a BBQ favorite, you’ll need just a few simple ingredients and tools. Start with high-quality ground beef as the foundation for your shells. For an added kick, consider using seasoned or smoked ground beef to enhance the flavor profile. Don’t forget the essential binding agents like eggs and breadcrumbs, which will help hold everything together. These can be easily substituted with flour or cornmeal if preferred.
In terms of tools, you’ll require a mixing bowl for combining ingredients, a spoon or spatula for stirring, and a set of clean hands to shape the mixture into compact balls. A frying pan is essential for cooking the shells, ensuring even heat distribution. And finally, don’t forget your BBQ sauce – a staple for any Shotgun Shells BBQ recipe.
Preparing the Meat and Vegetables

Preparing your ingredients is half the battle won when it comes to crafting delicious Shotgun Shells for a busy night. Start by gathering your favorite BBQ meats—chicken, pork, or beef—and cut them into bite-sized pieces. This ensures even cooking and makes assembly faster. Next, chop up an assortment of vegetables like bell peppers, onions, and mushrooms. You can also add corn on the cob for a sweet twist. These veggies not only add color and texture but also pack a nutritional punch to your BBQ shells.
Toss the meat and vegetables in a large bowl with some olive oil, salt, and pepper to infuse them with flavor. The key is to marinate them briefly so that the flavors blend without overpowering the natural taste of the ingredients. This simple step enhances the overall dining experience, making your Shotgun Shells BBQ Recipe a crowd-pleaser on any busy night.
Assembly and Cooking Methods

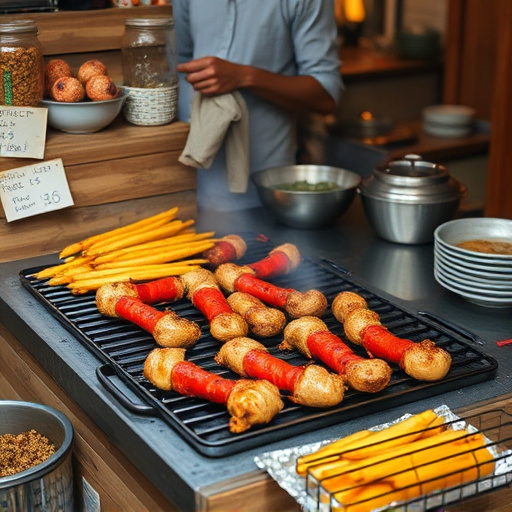
Creating your own shotgun shells for a quick and easy BBQ side dish is simpler than you think. To assemble, start by mixing together your desired blend of dried beans, rice, and seasonings in a large bowl. For added flavor, include BBQ sauce or rub during this step. Pack the mixture firmly into empty shell casings, ensuring each casing is filled to the proper weight requirement for optimal cooking.
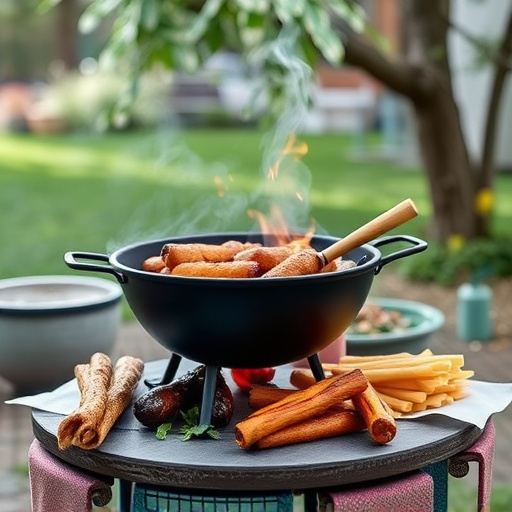
Once assembled, there are several cooking methods to choose from. You can opt for a traditional approach by placing the loaded shells directly onto hot coals or a grill grate over medium-high heat until they’re crispy and golden brown. Alternatively, consider baking them in the oven at a lower temperature, around 350°F (175°C), for a more gradual cooking process that can result in a softer, chewier texture.
Tips for Serving and Storage

When serving Shotgun Shells BBQ Recipe as a quick and satisfying meal, presentation matters. Arrange the shells on a platter with a variety of toppings like chopped onions, cilantro, and jalapeños for added texture and flavor. Serve them alongside a refreshing cold beverage to complement the smoky BBQ sauce.
For optimal storage, keep the Shotgun Shells BBQ Recipe in an airtight container in the refrigerator. Since they are made with fresh ingredients, consume them within 3-4 days for best quality. Reheat them in a preheated oven or on the stovetop before serving to ensure they remain crispy and delicious.